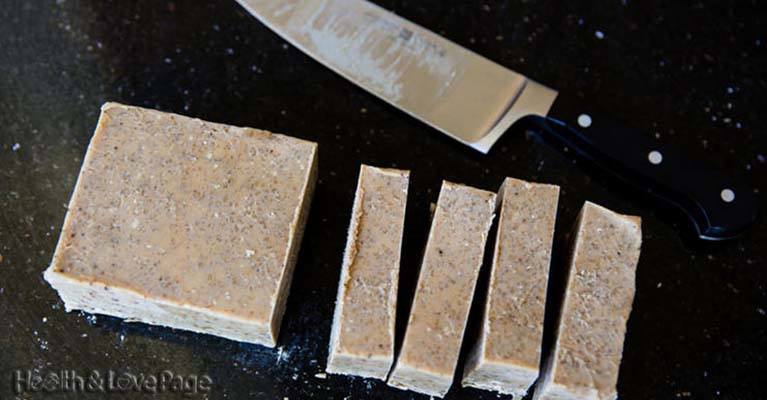
Coconut oil soap provides the skin with many benefits.
It moisturizes, firms, and clears, at the same time preventing the appearance of acne.
 Learn how to make your own coconut oil soap in the following 6 steps explained in details:
1. Necessary Items
Ingredients:
- 48 ounces of olive oil
- 48 ounces of coconut oil
- 22 ounces of lye (sodium hydroxide)
- 1/3 cup of oat bran
- 1 tablespoon of coffee grounds
- 9 ounces of coffee
Equipment:
- Stainless steel thermometer
- Kitchen scale
- Gloves, protective eyewear, face mask
- Stainless steel pot
- Hand blender
- Mixing bowls
- Stainless steel spoon
- Measuring cups and spoons
- Silicone spatula
- Towel
- Parchment paper
- Soap mold
Note: Every utensil and container that comes into contact with Lye (Sodium Hydroxide) should be used only for making soap.
2. Measure and Mix
Measure the ingredients in separate bowls using a kitchen scale in. Use stainless steel pot for the coconut oil. You should be in a well-ventilated area wearing protective gear. Add the sodium hydroxide to the coffee and not the other way round, and allow it to dissolve. There will be a chemical reaction which will make the mixture hot. Put it aside, and remove the face mask and eyewear if you wish, but not the gloves.
3. Emulsify
On low heat melt the coconut oil and then add the olive oil. Check the temperature of the mixture with a stainless steel thermometer, and adjust it to the temperature of the sodium hydroxide solution until they are between 100 and 110 degrees (with 1 to 2 degrees difference between the two temperatures).
Pour the sodium hydroxide solution into the oil mixture, and use a stick blender or hand blender to emulsify until the blend starts to thicken and gets pudding-like texture. If you use a hand blender it will take an hour, and a stick blender will take 5 to 10 minutes. When the soap gets thick consistence, stir in the oat brand and coffee grounds using a stainless steel spatula or spoon.
4. Pour and Insulate
Pour the blend carefully into a soap mold. Release any air bubbles by lifting and tapping the mold against the counter several times. Cover the mold with parchment paper and insulate it by wrapping it with a towel.
5. Let Sit and Cut Bars
Leave the towel for 24 to 48 hours, and then remove the soap from the mold. Before cutting the soap loaf into bars, allow it to stay for another day to harden further. Cut it with a sharp knife, and use a vegetable peeler for smooth sides.
6. Cure
Let the soap bars cure in a well-ventilated and cool area for weeks. During this time, the soap will finish saponification and the extra water will evaporate. Your soap will be now ready to use.
